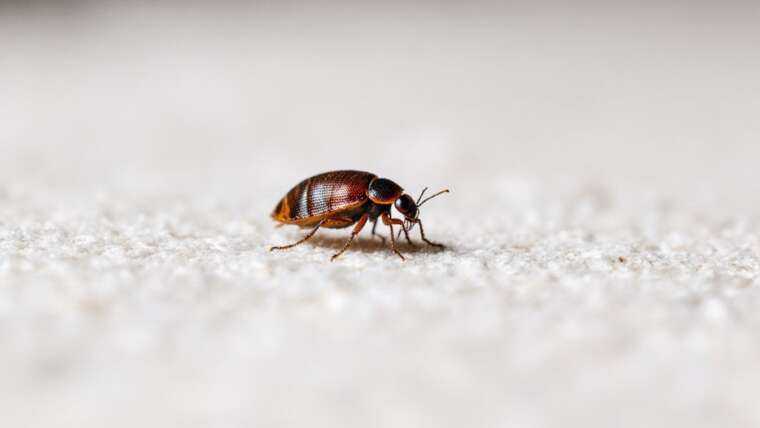
If you’ve discovered drywood termites infesting your home and other treatment methods have proven ineffective, you might want to consider fumigation. This method is the most prevalent approach for controlling drywood termites in residential structures.
Fumigation is a specialized treatment that requires comprehensive preparation. It’s essential to understand both the process and the necessary steps to ensure a successful fumigation. Here, we delve into the intricacies of termite fumigation, along with practical tips to enhance your experience.
How Fumigation Works
Fumigation is the application of a gaseous insecticide that penetrates wood to control drywood termites and other wood-boring insects. Unlike surface treatments, which may only reach accessible parts of the infestation, fumigation allows the gas to sink deeply into wooden structures where termites thrive.
Unique Tip:
Consider Scheduling at Off-Peak Times: Fumigation typically takes several days. If possible, schedule during a time when you’ll be away for an extended period (like a vacation) to minimize disruptions to your routine.
When fumigating a structure, pest control professionals use tarps or other sealing methods to contain the gas, ensuring it reaches every nook and cranny, including beams and walls. Once the treatment is complete and termite control is achieved, the seals are removed, followed by aeration to expel any residual gas before residents can return.
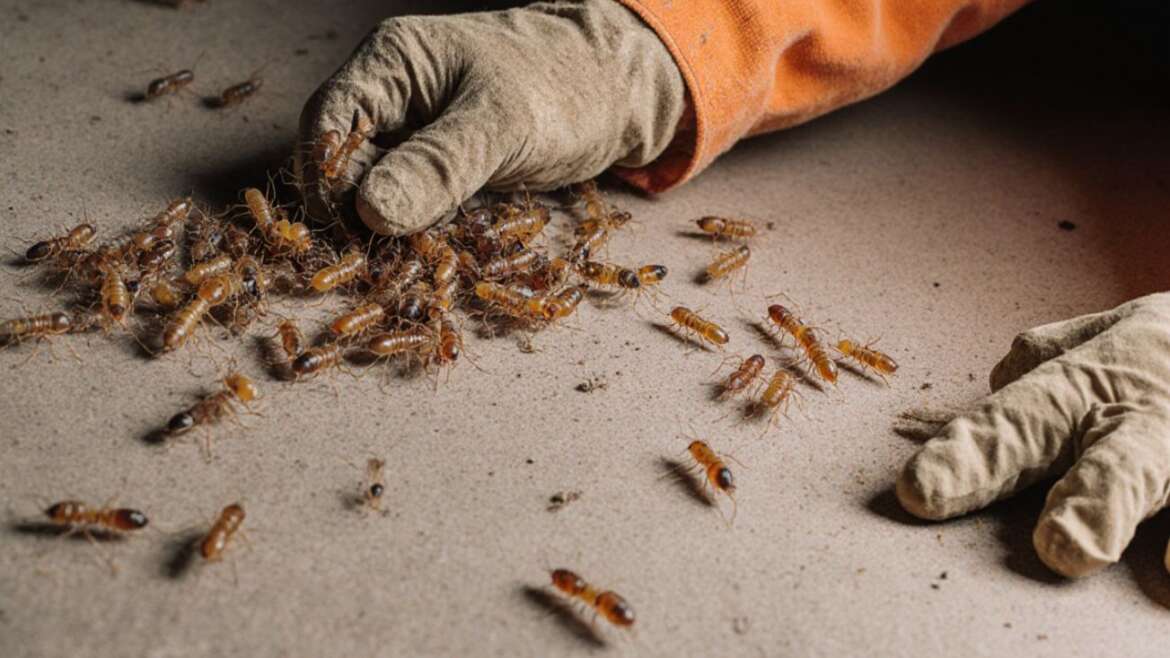
For infestations buried deep within your home, proper preparations are crucial. This includes relocating all people, pets, and indoor plants during the fumigation process.
Is Whole-Structure Fumigation Needed?
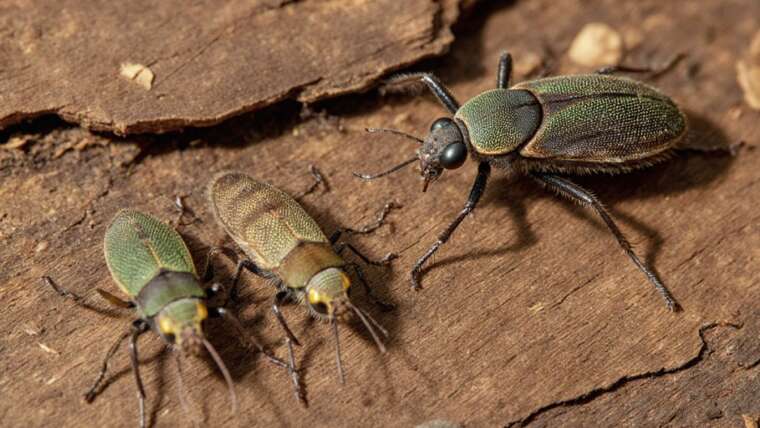
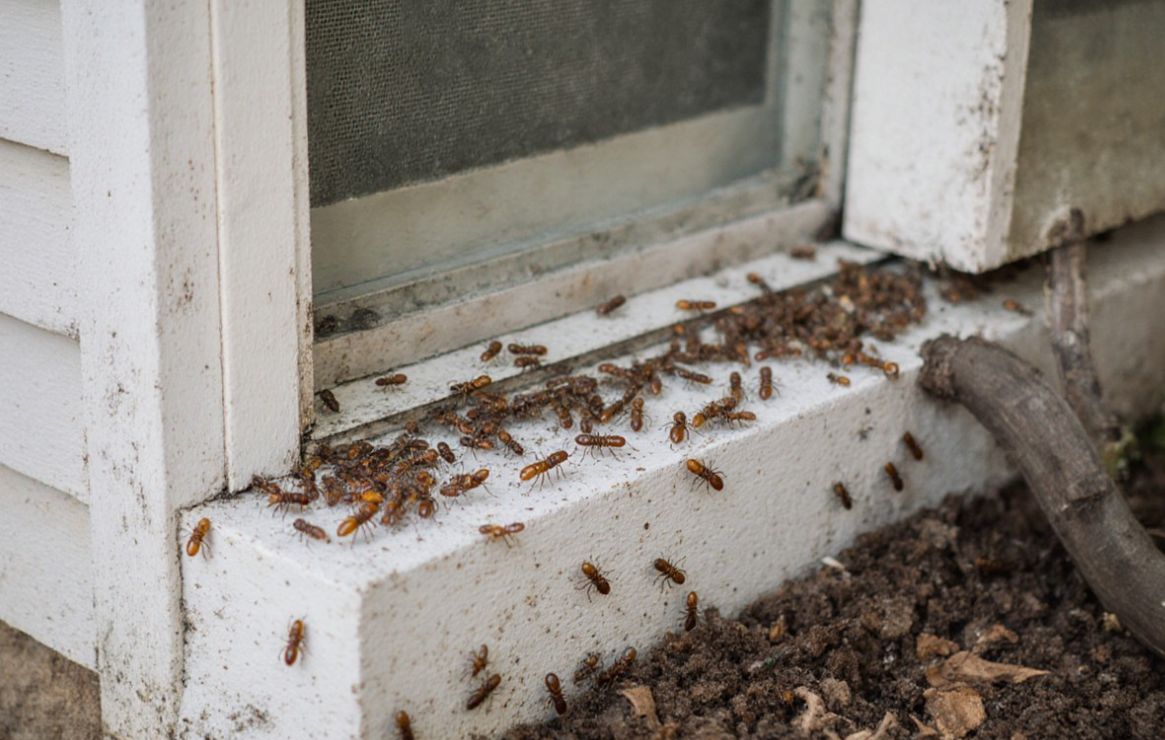
Locating drywood termite colonies can be challenging due to their hidden nature. As a result, whole-structure fumigation is often recommended to effectively treat widespread infestations. Sealing the entire structure ensures the gas reaches every affected area.
Unique Tip:
Take Before Photos: Document your home’s condition before fumigation. This way, you can address any concerns or discrepancies after the process is complete.
While the upfront costs might seem high for whole-structure treatment, it’s a highly effective approach to achieving long-term control.
Tips for Preparing for Termite Tenting and Fumigation
To ensure an effective fumigation process, you must carefully adhere to your fumigator’s preparation instructions. Here are essential tips to facilitate a smooth experience:
1. Notify Your Neighbors
Let your neighbors know about the fumigation, as they may have concerns. Addressing these worries can help build trust and create a supportive community atmosphere.
Unique Tip:
Create a Neighbor’s FAQ Sheet: Prepare a document addressing common questions about fumigation for neighbors, including safety details and potential impacts, and distribute it to expedite communication.
2. Make Sure You Have Somewhere to Stay
Fumigation procedures require that no one enters the home until it’s given the all-clear. This typically takes 36-48 hours, so plan accordingly.
Unique Tip:
Explore Local Lodging Deals: Check platforms like Airbnb or local hotels for short-term stays that might offer discounts or special deals.
3. Remove Pets, Plants, Food, and Medication
All animals, plants, and certain food items must be removed during the fumigation period due to the toxicity of fumigants.
Unique Tip:
Organize a “Fumigation Kit”: Prepare a specific bag or bin containing items for pets or plants, making the removal process quick and efficient.
4. Open All Doors Between Rooms
To facilitate the gas penetration throughout the structure, it’s vital to open all interior and cabinet doors, as well as draw open any curtains.
Unique Tip:
Visual Reminders: Use sticky notes or tags on doors and cabinets to remind everyone to open necessary spaces before leaving for fumigation.
5. Clear Access to Closets, Storage Rooms, and Crawl Spaces
For optimal gas penetration, ensure these areas are uncluttered and accessible.
Unique Tip:
Use a Checklist: Create a checklist of all storage areas to ensure nothing is overlooked, helping to reduce the risk of unprotected spaces.
6. Turn Off Heat Sources and Unplug Appliances
Certain fumigant materials can react negatively in the presence of heat. Ensure all pilot lights are extinguished, and gas service is turned off.
Unique Tip:
Schedule Utilities Review: Consider scheduling a consultation with your utility company to understand the process for re-ignition and reactivation post-fumigation.
7. Remove External Fixtures
Lower or dismantle any external structures like antennas or mechanical awnings that could obstruct the tenting.
Unique Tip:
Document Existing Conditions: Take photos of outdoor fixtures before removing them to aid in reinstallation later.
8. Leave Keys for Your Fumigator
Ensure your fumigator has access to all required areas by leaving keys and perhaps discussing security for the duration of the process.
Unique Tip:
Consider a Lockbox: Utilizing a secure lockbox for keys allows easy access while preventing potential entry during fumigation.
9. Stay Away Until the Job is Done
Do not enter the residence until you receive explicit clearance from your fumigator. Stay updated on the re-entry schedule.
Unique Tip:
Utilize a Countdown App: Download an app to set a countdown to the clearance time, keeping everyone informed and reducing anxiety.
Post-Fumigation Procedures
Upon receiving clearance from the fumigator, you can return home. For more information on any necessary steps, don’t hesitate to reach out to your technician.
Unique Tip:
Conduct a Post-Return Inspection: Once back, perform a thorough walkthrough of your home to spot any signs of issues that may need addressing.
Need assistance controlling termites or other pests? We provide pest control strategies tailored to your specific needs. Let us help you protect your home effectively.